Narrow your search:
However simple it might appear, there are lots of factors to take into account while choosing the best bathroom tile. You should know that the bathroom design often dictates the type of tile that should be used. Good planning, reasonable approach and impeccable taste – these are the cornerstones of getting your bathroom tile right. So let’s see what tips we have for helping you to do so.
Tip nr. 1 Plan everything thoroughly!
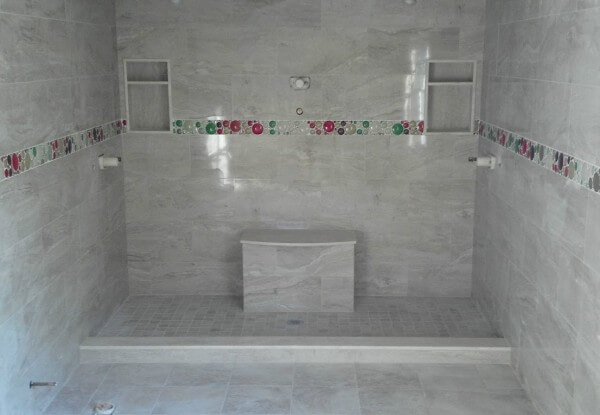
Let’s imagine that you need several shower niches – one for each member of the family for storing her/his belongings, and one larger niche for common things. In order to achieve that look you need some custom framing and a header above the bathtub on the long wall. It is obvious that such things can’t be done just out of the blue, in the middle of the renovating process. On the contrary, you need to plan it all out prior to any actions. It is obvious what needs to be done at this stage: think thoroughly about what you want and ask for some professional advice in order to make sure that what you want is not a mission-impossible-task.
Tip nr. 2 Always double-check tile sizes!
It may come as a surprise for you, but one of the most common mistakes people make in tile layout is that they assume that a 12-inch by 24-inch tile is the same thing as 12 inches by 24 inches. You should know that most tile is sold in European sizing, so the actual size is 30 cm by 60 cm. As soon as you purchased a good sample of tiles, you need to lay them out and check them for warping. It also won’t hurt to soak-test your tile for quality control.
Tip nr.3 Tile should be laid only from the ceiling down, not vice versa!
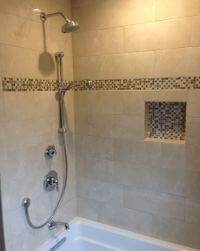
It often happens that shower niches end up with cut tiles, but it’s a very non-professional way of laying tile and for sure it shouldn’t be that way. What you should do is lay out your tile pattern from the ceiling so that the mitered parts start exactly on a grout joint. Most people who work in this sphere of activity consider that laying out the tile pattern from the ceiling makes it a lot easier to get everything right. You can draw up the design right on the wall board before waterproofing in order to make sure everything is ok with the layout before installing the tile.
Tip nr. 4 Be careful around windows and doors!
Tile layout around windows and doors is critical. Every door and window has its own challenge, and it often happens that the best way of waterproofing the assembly may be challenging too. The first thing you should do is make sure that your bath or shower’s waterproofing system is designed with the windows taken into consideration. It is the best way to prevent water from getting behind the tile and straight into the window framing.
Tip nr. 5 Make sure to get the drain right!
It is worth noting that setting the drain requires a lot more than simply dropping it somewhere in the middle of your bathroom. It often happens that drains have zero room for adjustment so if you are willing to get them perfect you need to plan everything thoroughly. You should ask your plumber position the drain pipe very close to the finished position only after your tile installer determines the best tile layout for the shower. Of course it will need flood testing, but this work will be checked later.